Sunday, April 19, 2015

NYX Lime Green Eye/Eyebrow Pencil

I finally received my NYX order, and I also found their Lime Green Eye/Eyebrown Pencil, which I did not order.  So, a free weird gift.  Weird because it's a LIME GREEN eye/EYEBROW PENCIL.  Alright, I'll take their word for it, and I'll use it as an eyebrow pencil.  Here we go!

Proof that it is indeed marketed as an eyebrow pencil.

One eyebrow done.  See the contrast?


Both brows are now lime green.  I have to say that the pencil is pretty soft, and for an eye pencil, the lime green is a fun color. 


The lime green is a bright green, with a metallic sheen to it. 
Close up! 

I am skeptical about this, but it the look is fun.  Maybe I'll do it for an event that calls for neon green brows.  So, a funeral?


Thursday, March 26, 2015

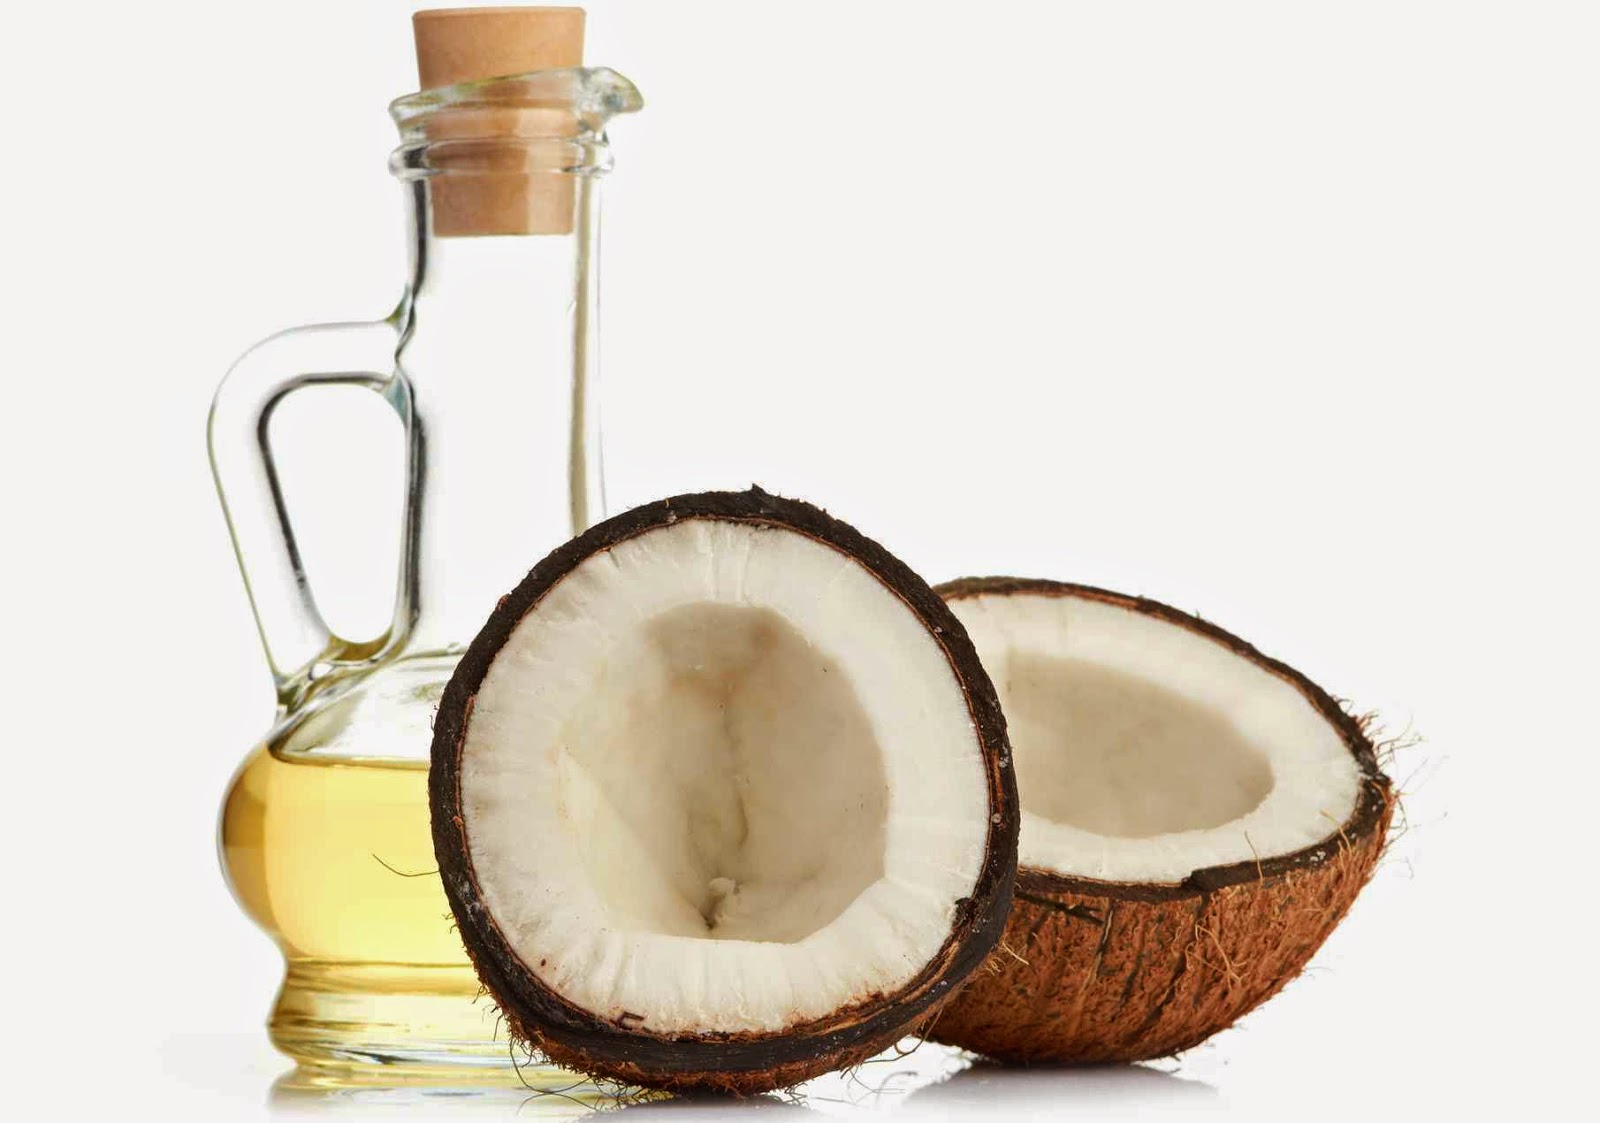
Coconut Oil


I wanted to write a brief post about the magic of Coconut Oil. I only recently stumbled on the many uses for Coconut Oil. Since this is a beauty blog, I'll just be sharing the ones I've tried that are related to beauty!

1.  Use it as a lotion. Yup.  Just pretend it's a lotion and oil up your body.  I love it because it's natural, and it works better on moisturizing my skin than all the other products I've tried. Sometimes I'll just put it on my face before bed and really let it soak in. In the morning, my face is soft and silky. 

2. Eye makeup remover.  Instead of whatever chemically processed stuff you're using to remove your makeup, just use coconut oil. It really helps the makeup just glide right off your face! 

3. Teeth whitener. Sometimes I will dab a little bit of it on my teeth and let it sit for about 10 minutes. Then I'll brush my teeth like normal. I think it's helping keep them a little whiter than usual.  I've heard you can also use it to make toothpaste, but I haven't tried it yet! 

What do you use coconut oil for? Share your uses in the comments below!

 -Ami

Wednesday, March 25, 2015

Patience = Big Reward

It's not every day that I have a lot of time to dedicate to putting makeup on in the morning. Today I randomly woke up too early, and since I couldn't sleep, I figured I might as well use that extra time to get ready. 

I got my arsenal of makeup ready, assembled here for viewing.  Most products are pictured but there's a few below that didn't make the photo shoot. :)


Today, I started with eye makeup. I can't seem to navigate the Lorac shadows without a little fallout, so I knew it would be easier for me to do my eye makeup first, clean up any fallout, and then proceed with my face.  

After applying Urban Decay primer in nude across my eyelids, I swept Lorac Light pink across my upper brow, and Lorac Mauve across my lid.  I then blended Honeybee Gardens Dragonfly into the crease and the outer V of my lid. Finally, I blended Lorac Deep Purple into the outer V as well to really build up the dark smoky concept.  

Here's an arm swatch of the colors, from bottom to top in order used. 

Using an angled eyeliner brush, I lined both my top and bottom with Lorac Deep Purple. I cleaned off the brush, and then patted a little bit of the Dragonfly along the bottom for a little bit of extra purple pop. I finished the eyes off with Honeybee Gardens Espresso mascara.  Then, I cleaned up around my eyes in order to refine the look. 

First I used Clinique concealer in Very Fair to cover the dark circles under my eyes.  I used Clinique Even Better foundation in Linen to even out my face.  I used Clinique invisible matte powder to set the makeup. I applied Lancome bronzer around my cheeks, as well as Clinique Mocha Pink Blush to brighten up my face even more.

Finally, I applied Red Apple Lipstick in Maven Mauve.  

And then I took a lot of selfies.


Thanks for reading!  
-Ami


Inspired by Chanel's Spring/Summer 2014 look

Last year, I stumbled on this glitter look from Chanel's Spring/Summer 2014 Couture Show, and I love it!  I love the dramatic thick black cat eye, and the glitter underneath the eye. 
 
This appropriate for every day right? 

"Just stare into my beautiful glittery eyes!"

I couldn't find cosmetic glitter with bigger particles, and I refuse to use craft store glitter, because it's not meant to be used on the skin, or eye, or lip area.  So I settled for cosmetic fine glitter that I found on the street near a port-a-potty.  KIDDING!  I found it etsy, from the store Addictive Cosmetics.  

So this is my version of the Chanel Spring/Summer 2014 Couture look.  I used Urban Decay's 24/7 Glide-On Eye Pencils in black, from their Travel Smokey Set which contains 3 of their eye pencils in a smaller travel size for the thick cat eye.  Luckily, because the cat eye doesn't require the same precision as a thin cat eye a la liquid liner, I didn't have to have to spend time perfecting it.  Save that time and precision for the glitter.   

Look at my fashionable Gap shirt with stripes.

Side view!

This is the container of "Silver Sparkle" glitter that I used.  The container sort of resembles a spice jar, so you can sprinkle out what you need instead of trying to dig for glitter, or dumping it all out.  On the carpet.  Or your hair.  Both will take forever to remove.  I just turned the container upside down to get the glitter on the lid, which I used as my palette. 
Glitter!  Sweet glitter!


Now, I have an eye primer, but because I needed a specific product to hold glitter, I also purchased Addictive Cosmetics "Fixit", which is a clear and sticky primer for glitter.  Now, Too Faced does have a product called Shadow Insurance Glitter Glue, so if you don't want to wait to order it and then have it shipped to you, you can always buy Too Faced's product from Sephora or Ulta store.  

The Fixit is a spray, which is pretty awkward to use, I had to be careful to not spray it everywhere, but it does work well.  


You can see that it is a liquid, and I would describe it as a sort of Krazy glue consistency.  The best way to use this is to spray it on the back of your hand, or maybe put it on a paint palette if you have one, and then take your brush into the primer. 

Taking my brush with the Fixit, I place the bottom of it into the glitter.  I then took the brush and applied it like I would with any liner gently placed it underneath my eye, CAREFULLY avoiding my eyeballs, and waterline.  The first time is to just create a rough guide for the the following applications of glitter.  Taking the brush, I pack the glitter on there, but instead of on the thin sharp line of the brush, I do it on the side.  This allows me to grab more glitter, and to be able to build more glitter underneath my eye.  

After getting the amount of glitter that I wanted, I simply filled my brows, added blush and highlighter to my cheeks, and then applied Burt's Bees Hawaiian Smoulder lip crayon to my lips with the addition of NYX color altering gloss.  I know the original look has more a light berry stain, or nude lip, but I don't have any of those colors, so a light pink it is!  

When wearing this be aware that when the light hits the glitter, you'll see bits of reflective light at the bottom of your eyes which is weird, but also like having your own disco balls in your vision.  
Hopefully, I can manage to take the glitter off without cutting my eye with tiny shards of glitter. 


Tuesday, March 24, 2015

For the Love of Cheap Polish... (a Guest Slug post)

My name is Emily and I'm a nail polish addict.


No, really, it's true.  I can't go into Target without a stop (and a purchase) from the nail polish aisle. Or Walgreens. Or Rite Aid. Or Sally Beauty Supply. Or Ulta (keep me away from there!).  I buy nail polish as a reward for myself (lose a pound! buy a polish!), as a consolation to myself ("It's been a hard day, I just need one bottle..."), and for absolutely no reason at all!

I'm also a fellow Slug!  And thanks to Ami and Thanh-Thuy, I'll be jumping on here every once in a while as a Guest Slug to dish about all things nails!  I have a collection of over 130 polishes, have strong opinions on top coats, and do my nails at least twice a week.  So, I've got a lot to say!  I love a variety of brands of nail polish - Essie, OPI, Orly, and others.  Today, I want to talk about my favorite cheap-o brand who gets it right (almost) all the time...

L.A. Colors Color Craze polish!


I'm quite picky when it comes to my nail color.  I like a color that goes on smoothly, isn't too thick but provides good coverage, and lasts more than 24 hours without chipping, peeling, or rubbing off. LA Colors Color Craze polish usually fits the bill!  The best part is that you can find them at your local Dollar Tree, Big Lots, or other major discount store for a really low price.  I've also seen them in gift sets and they can be found on Amazon, as well. For as little as $.75 per bottle these colors are a steal.  And Thanh-Thuy will be happy to know that LA Colors proudly proclaims on their Facebook page that they're cruelty-free!

There are a few downsides to the LA Colors Color Craze polishes.  Some of the more opaque colors (primarily the ones closest to white) are a bit streaky and take several coats to cover evenly.  Another downer for these colors is....


YUCK!  All those chemicals!  I'm still doing research, but I hope to post soon about the chemicals to avoid in nail polishes.  The LA Colors website does endorse their products to be toulene and formaldehyde free, but no comment on the presence of Dibutyl Phthalate, which is also a chemical commonly advised to avoid.


LA Colors Color Craze Nectarine - 1 coat

LA Colors Color Craze Nectarine - 2 coats

LA Colors Color Craze Nectarine - 3 coats + clear top coat (more on that secret later!)


Overall, I am usually very happy with the quality of the LA Colors Color Craze Nail Polishes. With tons of bright and cheery colors, they're perfect to add to your collection for spring and summer!


LA Colors Color Craze Polish:  Sammy the Slug approved!


Today


Today's look was a relatively simple one. My skin was screaming for a break so I went pretty easy on the face makeup.  I started with L'Oreal BB cream. It tends to be a little on the orange side, so I used it very sparingly just to give myself a slight base. I didn't use any foundation or powder today.


The bronzer I ordered from Clinique hasn't shipped yet, but I did find this VERY old bronzer in my kit. I usually use this palette's blush, but I was happy to find it had a bronzer as well. I couldn't even tell you how old this is.  NOT a best practice, but the blush has treated me well over the years, so I imagined the bronzer would be safe too.   

I brushed the bronzer over my cheeks, a tiny bit on my forehead, and slightly on my chin. 


I brushed a tiny bit of Glow by E.L.F. on my cheeks, in the spots untouched by the bronzer. I like this color because it's a very subtle shimmer and isn't overbearing. 


I have very sensitive eyes and I was able to find a company that specialized in mascara that was not only for sensitive eyes, but was gluten-free as well. It's called Honeybee Gardens. I play it safe when it comes to lip and eye products because I figure gluten is more likely to be absorbed there, and I can't have gluten.  

I also used Urban Decay primer and Too Faced Naturals palette (not pictured) on my eyes.


I finished off my look with this free ulta lip crayon sample I received.


And topped the lip crayon off with lip gloss from the same gluten-free company that sold me the mascara - Honeybee Gardens, gloss in Glam I Am.


And here I am. The final look is natural with a bit of a glow, thanks to my bronzer, my new favorite product!


Most selfies will be in my car where I get the best lighting! 

Happy makeup-ing!

-Ami

Demeter fragrances

Perhaps you've heard of Demeter Fragrances, they are well known for their unusual scents such as Dirt, Paperback, and Rain.  I've always been curious about their scents, and they have a large catalog of perfumes.  I appreciate that you can buy a small vial of it for $2.50 each, before investing in a huge bottle of it.  Lush used to do that with their perfumes, but they revamped them by discontinuing a lot of scents, and no longer selling small vials to allow people to test drive them.  

Like many things in life, scent is completely subjective.  Not only do is it the scent itself, but when mixed with our body chemistry it can result in a one of a kind smell.  We could each wear the same scent, but it would be different on each of us.  So, let's get on with this review!


I purchased in alphabetical order:

  • Earl Grey Tea
  • Chai Tea
  • Funeral Home
  • Giant Sequoia 
  • Gin & Tonic
  • Gingerale
  • Green Tea
  • Ocean
  • Paperback
  • Pineapple
  • Pizza
  • Rice Paddy
  • Salt Air
  • Sushi
  • Thunderstorm
  • Red Poppies was one that they gave to me for free, which was a pleasant surprise.  I didn't expect any samples, but they provided me with a 1oz container of it.  Nice!

OK, first let's start out with the bad.  Just terrible.  I had to immediately take a cotton ball soaked with rubbing alcohol to take out the smell off of my skin. 
  • Pizza.  It was a risk, but I was open to it.  What I envisioned was a hint of tomato with a mild basil smell.  What I got?  If a wet dog humped a pizza, and then months later birthed a scent out of its butt - this is that smell.  It was awful.  It made me feel a little ill.  
  • Chai tea.  I had high hopes for this one, I like strong aromatic spices, especially cinnamon, but what?  It smelled like sickly sweet artificial bathroom spray.  I like Oprah's Chai Tea that is sold at Teavana, and Starbucks, and maybe I'll just steep that and spray it on myself.  Or just sprinkle some in my hair. 
  • Rice Paddy.  I thought the scent would be fresh, clean, and green.  I don't even know how to describe what it actually smelled like.  Hairspray, maybe?   Funky, trying to hard to be spunky hairspray.  
  • Green tea.  Eh. It smells like a small boutique store that has a layered the air with different scents trying to convince you that you're wealthy.  So, I guess it smells like lies. 
The scents that I liked the most:
  • Pineapple.  Straight forward: it smelled like pineapple.  
  • Sushi.  No, it didn't smell like raw fish.  The scent really was more rice with a hint of ginger, and sweet sake or something.  It smelled clean.  
  • Thunderstorm.  Reminded me of Gap's old scent grass.  Who knew?
  • Ginger ale.  I don't know how, but it captured the fizziness of ginger ale.  Very light.  
The other scents that I'm not sure on, as in I didn't hate them, but I didn't love them and will be giving them another smell test are:
  • Funeral home.  C'mon, you know I had to try this one!  My husband is a funeral director for God's sakes.  No, it doesn't smell like decomposing dead body, it smells more like a chapel full of white flowers.  Kinda musty.  
  • Paperback.  It has a sweet smell, believe it or not, and there's another scent that I can't describe.  It's that other scent that makes me waver on whether or not I like this.  
  • Earl Grey Tea.  Another sweet musty smell, but lighter.  
  • Gin & Tonic.  Um, I don't know.  It smells like it has alcohol in it, which makes sense.  
  • Salt Air.  It has this weird light citrus-y smell.  I like citrus scents, but this one sort of smells like laundry out of a dryer. 
  • Giant Sequoia.  It does have the smoky earthy smell as advertised by Demeter, but there's something that odd about it.  Upon initial smell, I liked it, but then the scent hit my mind nose and I thought, "oh.  I don't know about this."
While smelling all of these scents, I was reminded of a scene in Bob's Burgers Dawn of the Peck episode where after fighting off various fowl the family and some of their friends sit down for a turkey dinner.  Bob, the dad, unveils this roasted turkey and no one wants it because they're all still traumatized by these turkeys, ducks, and geese viciously pecking and attacking them.  One of the characters says, "I can still smell 'em, Bob.  They're inside my mind nose."  And that's how I feel right now.  I don't want to smell anything ever again.  I don't even know if I want to eat pizza for a while.  Now, THAT scent is still in my mind nose.   
-Thanh-Thuy